Simple Booth HALO® comes with a green screen feature that makes it simple to set up a green screen photo experience and intuitive for participants to enjoy an assortment of digital background options.
All you need to do is select and upload images to your Simple Booth dashboard as digital backdrops, set up your HALO in front of a green screen, and get snapping.
This guide will help teach you everything you need to know about using green screen and digital backdrops in Simple Booth HALO.
Good To Know: The terms “green screen” and “chroma key” are often used interchangeably. However, there is a nuanced difference.
Chroma key refers to the process of removing a color and leaving a transparency that can be replaced with something else. Green screen refers to the same thing, but suggests only a green color. We call the feature Chroma Key in Simple Booth apps because Simple Booth supports either green or blue for the background.
Gather your green screen equipment
To use the Chroma Key feature in Simple Booth HALO, you’ll need the HALO app and an active subscription. We also recommend using HALO hardware, but it’s not required. HALO hardware features a large, soft light source that smooths out shadows from the backdrop.
Aside from that, you’ll need a few additional items for a flawless green screen experience. Let’s go over those now:
Use a green or blue backdrop
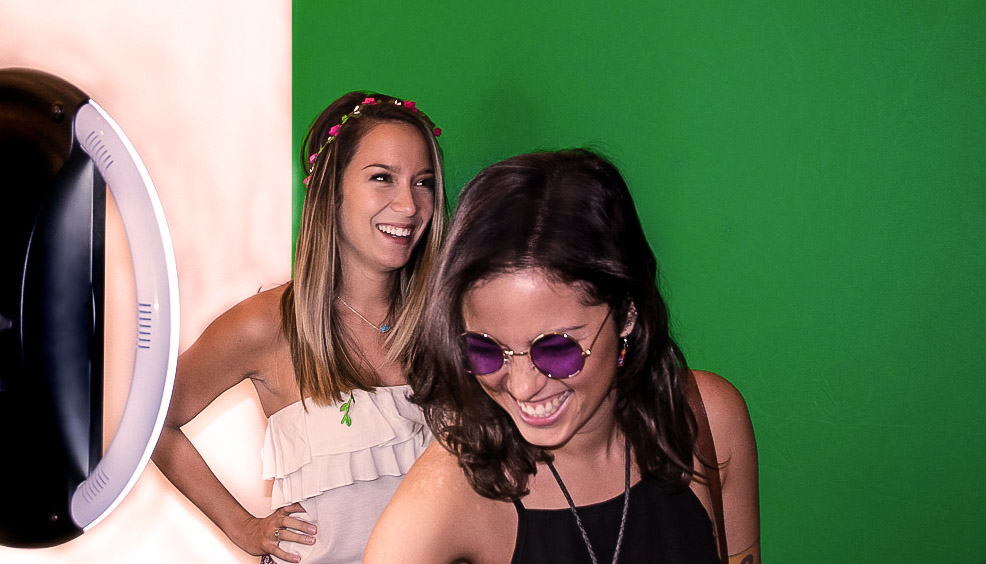
Simple Booth HALO supports either a green or blue screen, the choice is up to you. We recommend using the traditional green screen backdrop in most cases.
The reason we recommend green is because green contrasts more with skin tone than blue, so it tends to get a cleaner image. To achieve a seamless green screen effect, the color of the background needs to contrast with the subjects in the photo.
Also, people are typically less likely to be wearing green than blue–unless it’s Saint Patrick’s Day or the Green Bay Packers are playing! With that in mind, we’ll be referring to the physical backdrop as a “green screen” from here on out.
Lastly, when shopping for a green screen fabric or paper, check to make sure it is wrinkle-free for the best results. The green screen needs to be as pure green and bright as possible. It also needs to have a matte finish, not shiny or glossy.
Source a quality mounting system
You’ll need a way to mount your green screen that will stand tall for as long as you need. This is commonly done by stretching the green screen fabric across a set of aluminum stands.
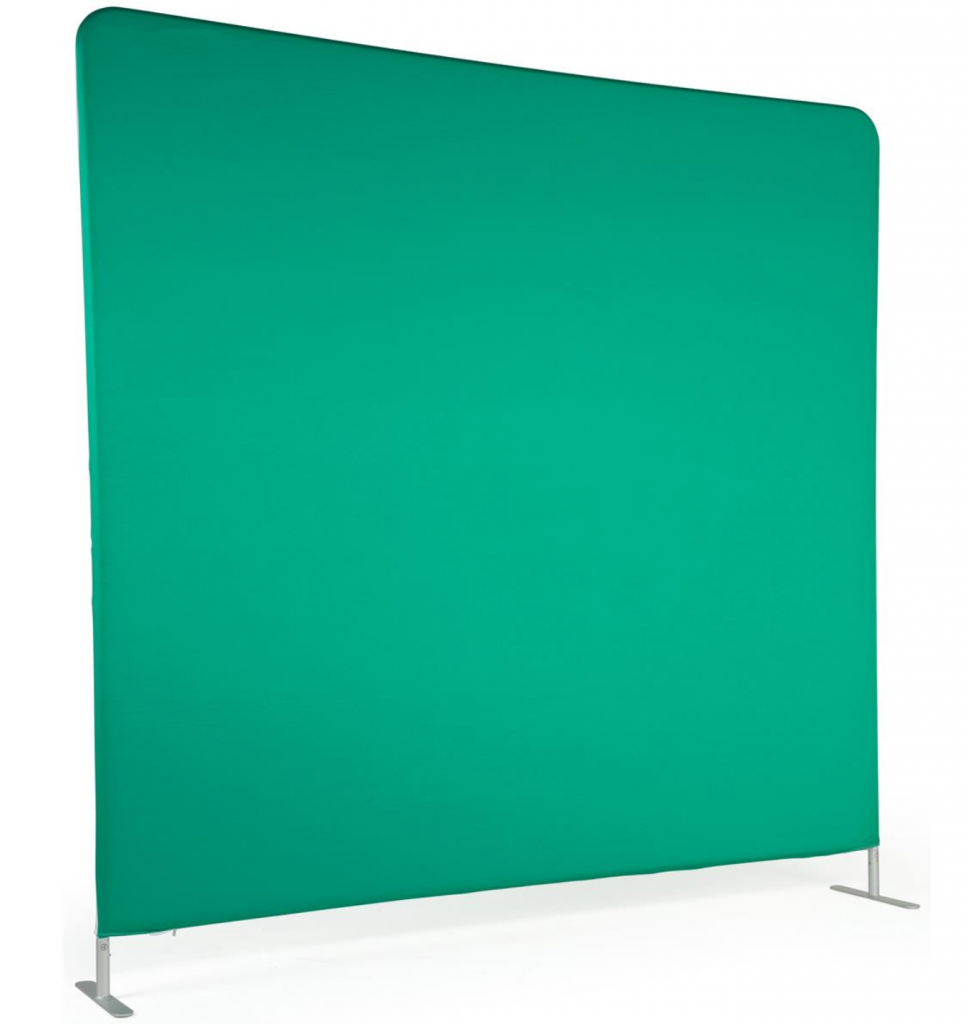
The stands in the photo above can be purchased directly from Simple Booth. They are stable, portable, easy to use, and will give your activation a professional look.
In some cases, you may be able to mount a green screen directly to the wall. If so, ensure the fabric is stretched taut enough to keep it completely flat without any wrinkles or drooping fabric.
Lighting is key to green screen results
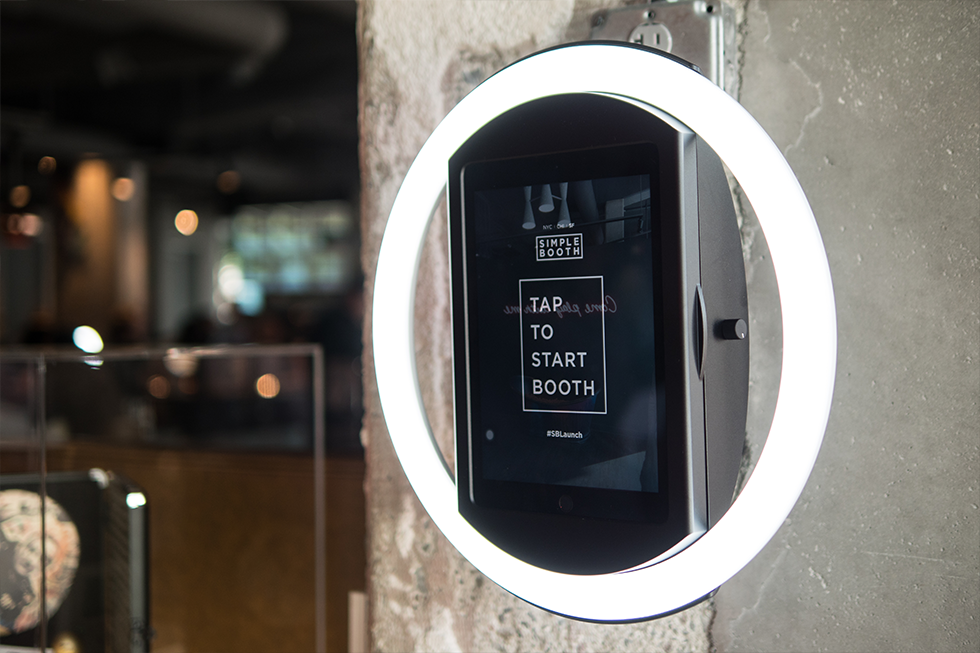
One reason Simple Booth HALO is popular for green screen is because its large luminescent ring light eliminates hard shadows that can be problematic for green screen. HALO users don’t typically need any extra lighting for green screen.
However, if you’re only using HALO app without HALO hardware, you will definitely require additional lighting. In that case, we suggest adding fill lights on both sides. Your environment and the time of day can make a big difference in the lighting that will be required to get quality images.
FURTHER READING: 4 Photography Lighting Tips For Beginners
Find backdrop images
It’s not hard to find photos online, and you can use just about any JPG or PNG as your digital backdrop, but make sure that you have the proper rights or license to use an image. This is especially true for businesses using images for commercial use.
In some instances, you may need to purchase a license to use an image. Luckily, there are a few sites in which professional quality images can be found free of charge for commercial or personal use.
Our favorites include:
Always ensure you have the proper rights to use a photo before using it, regardless of where it came from. Alternatively, you can also take your own photos and use them as green screen backdrops.
Tips for the best backdrops
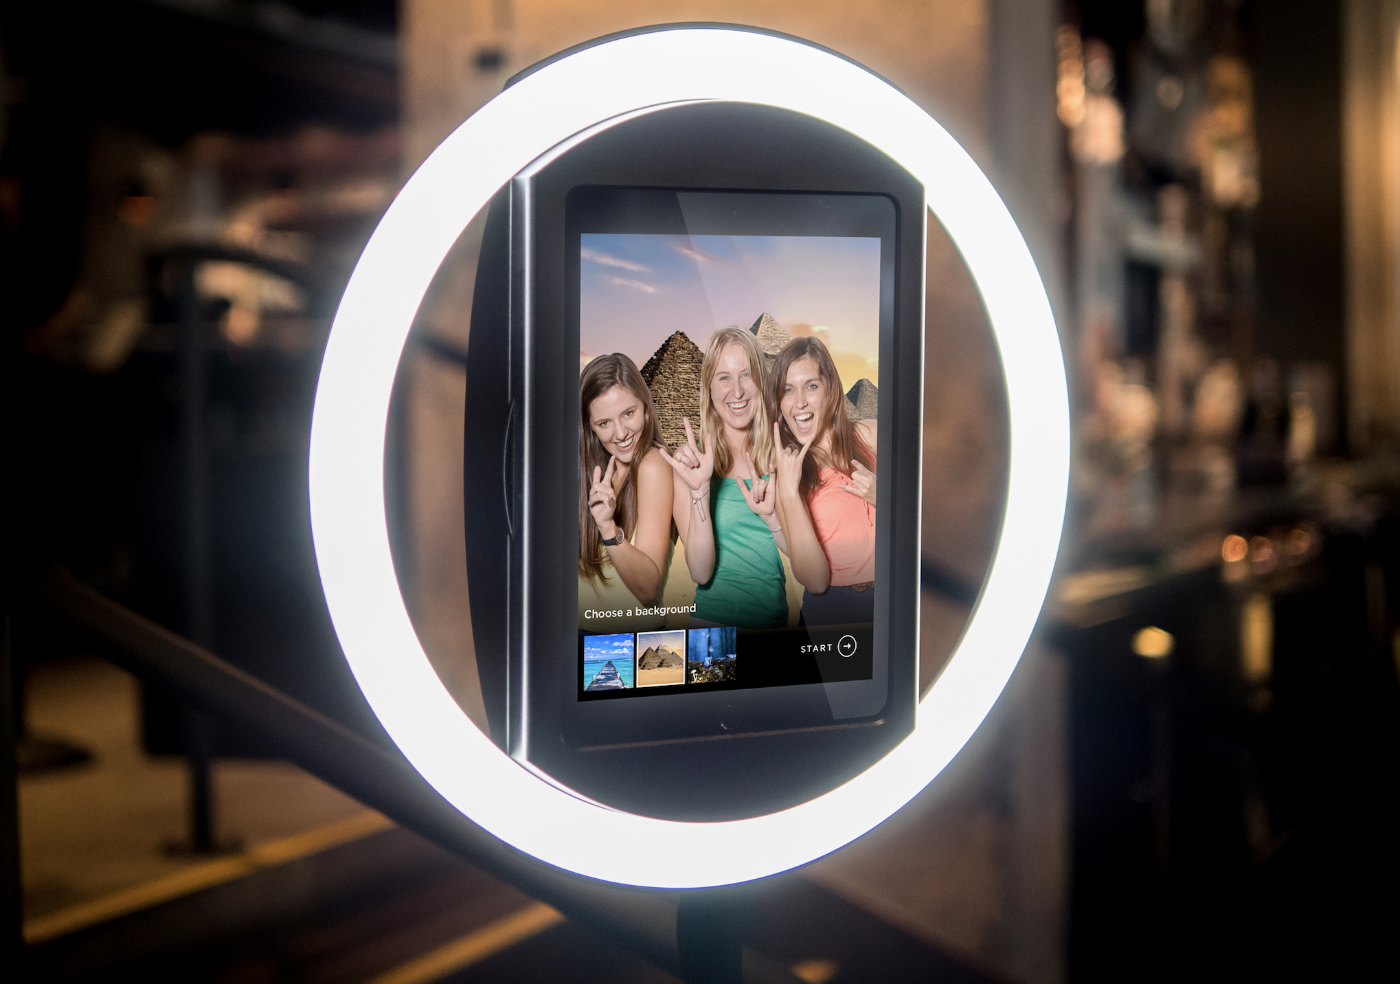
In most instances, you can simply upload a photo and Simple Booth will automatically crop the images you upload to the correct size in the output photos.
However, there are things you can do to avoid any surprises. For example, be mindful of an image’s orientation when choosing it. Try to use images that are in the same orientation as your Simple Booth setup. For example, if you plan to use Simple Booth in portrait orientation, select a background image that is also in portrait orientation.
Please note that the maximum file size for digital backdrops is 4MB.
How To Manually Resize Images (optional)
Letting Simple Booth automatically crop your images is the easiest and quickest way. Here are some guidelines if you’d rather crop images yourself to make sure they are pixel perfect,
Your digital backdrops should be resized and cropped to one of the following sizes, based on the orientation of the photos you’ll be taking with Simple Booth:
- Landscape: 1280x960px
- Portrait: 960x1280px
- Square: 960x960px
To resize and crop the images yourself, you’ll need to use some kind of basic photo editing software. Photoshop is the #1 choice for professional designers, but it can be hard to work with if you’re not used to it.
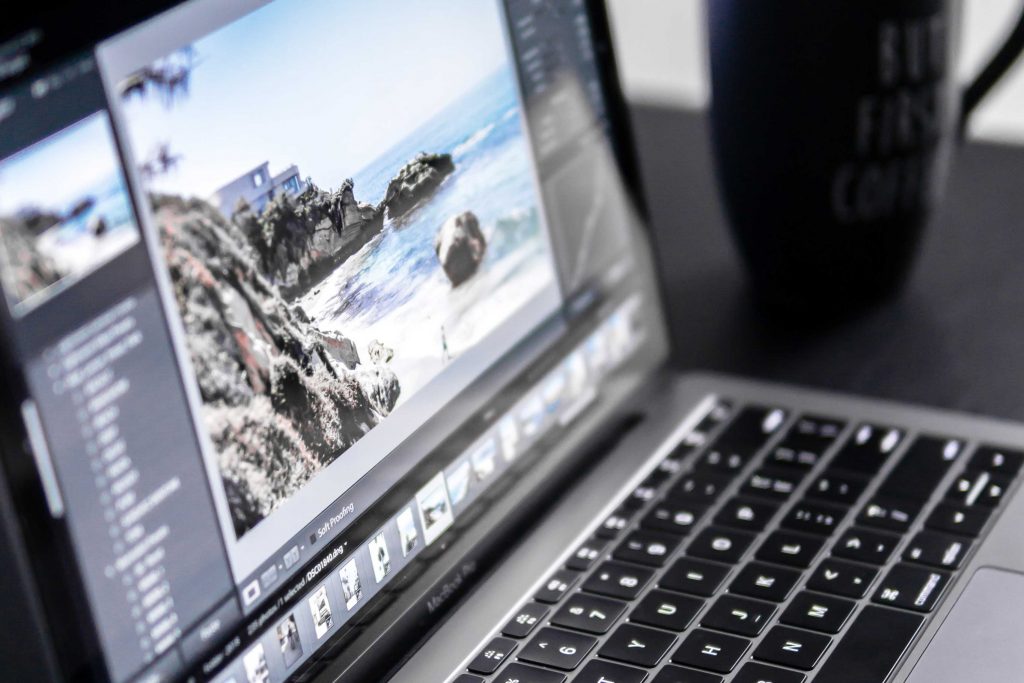
Some photo editing options to consider are:
- Canva: A simple online design tool that is also great for creating overlays and other assets you might need.
- Affinity Designer / Affinity Photo: A paid program similar to Photoshop. Affinity can be used in a browser or mobile app.
- Pixlr: A free program similar to Photoshop. Pixlr can be used in a browser or mobile app.
- Simple Image Resizer: A no-frills, free online image resizer. Great if you don’t need to do any other edits to your images.
Once your images have been properly sized, you’re ready to upload them to Simple Booth.
FURTHER READING: How To Create An Overlay For Simple Booth
How to upload your digital backdrops to Simple Booth
To get everything set up for Simple Booth HALO, you’ll need to access your Simple Booth dashboard via a web browser. You’ll also need an iPad with the Simple Booth HALO app installed. Once you have access to those two things, you’re ready to upload your digital backdrops.
The entire process only takes a few minutes—just follow the steps below.
- Login to Simple Booth online
- Make sure you have a paid plan
- Navigate to the Presets tab.
- Create a new preset or select an existing one for green screen.
- Scroll down to and check the box by the Chroma Key option.
- Select the Chroma Key background color. This should be the same color as your physical background. The most common choice is green.
- Upload the images you’d like to use for your digital backdrops.
- Grab your iPad and open the Simple Booth HALO app. Tap on the appropriate preset.
- While in the app, make sure the Chroma Key option is on and your digital backdrops have been uploaded.
- Take a few test shots to make sure everything is working great.
That’s all it takes to set up the Chroma Key feature with your custom digital backdrops.
Good To Know: Chroma key can be enabled and disabled from the app itself. But, digital backdrop files must be uploaded to your account online. They cannot be uploaded through the app directly.
Remember to take test photos
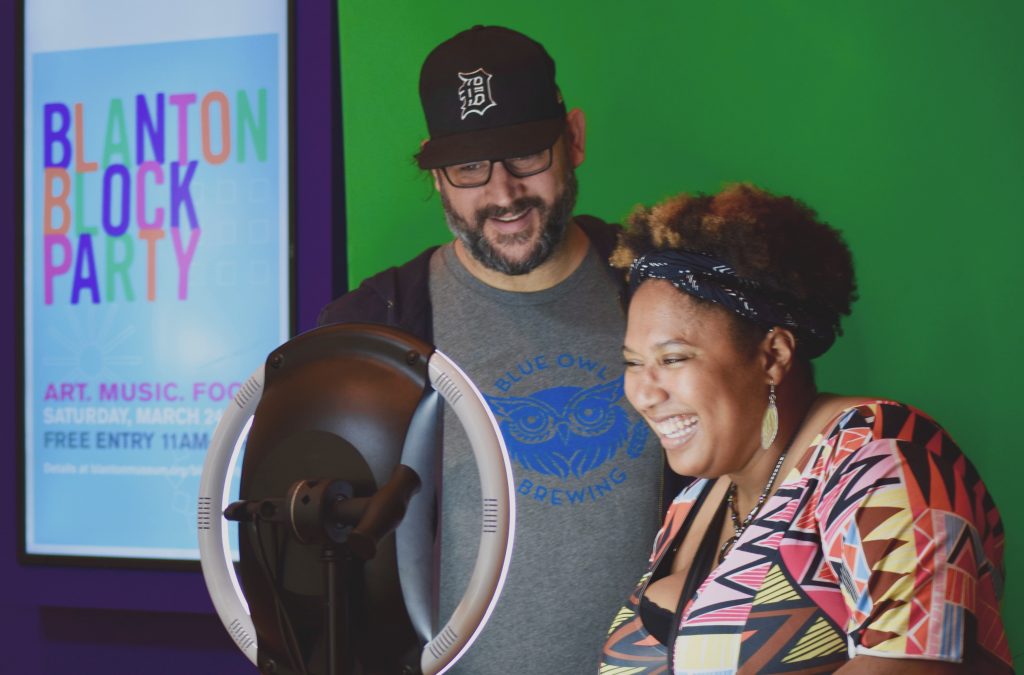
It’s always a good idea to test your setup before a live event starts. Taking test shots ensures everything is working the way you expect it to before your participants arrive.
Ideally, do a full practice-run at home or the office a few days before your event. Then, after you set up on-location for your event, take test shots to make sure everything works in that environment. This can help avoid surprises.
Here are a couple things to look for for during your test:
- A wrinkle-free background is crucial. Check your green or blue screen for any wrinkles, folds, or droopiness. If you spot one, adjust the clamps and stands until the fabric is stretched flat.
- Check for even lighting on the backdrop fabric. You don’t want any bright of dark spots. Adjust your lighting or bring in additional lighting to correct any discrepancies. You can also adjust the camera exposure in the Simple Booth HALO app.
Learn more about green screen
Simple Booth apps are designed to be user-friendly and intuitive to use. But, sometimes things just don’t go the way we want them to. In the off-chance you run into an issue getting your backdrops set up, here are two resources we recommend checking:
- How can I get the most out of green screen? – A Simple Booth help article full of best practices and pro-tips.
- The Simple Booth Design Guide – The official Simple Booth Design Guide to creating awesome backdrops, overlays, and graphics. Here you’ll find design guides, sizing specifications, image and video software suggestions, and a whole lot more.
Green Screen Photo Booth FAQ
I have Simple Booth Classic, can I still use Chroma Key?
Chroma Key is available on all the Simple Booth HALO apps. However, it is not currently supported on Simple Booth Classic.
Can green screen photos be sent to a printer from Simple Booth at an event?
Yes, they can! Check out this video to learn more about printing from your Simple Booth HALO app.
You can also print photos that have been saved to your iPad through the Photos app after your event is over.
Get started with Simple Booth
Green screen is one of the many great features in Simple Booth HALO. Combined with lead capturing, analytics, and custom brand touchpoints, HALO is a marketing powerhouse.
Whether it’s for event engagement, photo marketing, or just for fun, we have the perfect photo booth solution for events and venues of all sizes.
Ready to join the photo booth movement and try green screen?Learn About HALO